Thursday, April 28, 2011

Guest Post Design from Amber at Simple Dwellings

While I am busy playing with my kids this Easter Holiday, Amber has been busy designing.  Sometimes it is interesting and beneficial to get another perspective when designing and planning a space.  Although you may not follow exactly the ideas, it may take your own creativity in a new direction for you.  Since Amber from Simple Dwellings is a pro at creating design boards I thought I would invite her to create one for our master bedroom. 

Here is the info I shared with her:
  • size: 16' x 13'2 with 9' ceiling height
  • There is a large bank of windows along the one wall of our bedroom
  • My walls are painted with Benjamin Moore's Willow which is a rich grey brown
  • Rustic Modern is the style I am working at incorporating into our home
  • I have an existing armoire and 2 nightstands that I am considering stripping and staining grey
  • An upholstered headboard is what I am thinking of to compliment and not compete with the other wood furniture
  • I am in love with the textiles from Lacefield Designs (esp. the grey and yellow), and they are adding a bedding collection soon which I cannot wait to see
  • I would like to incorporate a seating area in this space 
Here is what she came up with:

Hello Timber and Lace readers! I'm Amber from Simple Dwellings and I am so excited to be a guest post today! Marci has a great blog with creative DIY projects and a beautiful rustic, modern style. I was so excited when she asked me to create a design for her master bedroom! Since I started my blog 3 months ago, I discovered a passion for creating designs to see how fabrics blend and decor styles compliment. I also love modern rustic designs and find it an exciting challenge when I can blend that with elegant, traditional elements. Marci gave me a lot of information to work with, which I love, because I will be better able to design a space that best suits her and her family. She already had beautiful gray tones to work with in the space and wanted to add some yellow through accessories. So, without further adieu, here is the master bedroom design:
I knew Marci wanted to keep the same design aesthetic here, as in the rest of the house. I tried to do that by bringing in natural elements, pairing wood pieces with neutral fabrics and keeping the overall design modern and rustic. Starting with the bottom left and working clockwise, here is a break down of the ideas behind the choices and shopping sources:
1. The dark gray color on the bottom left is Marci's room color now. It is Willow by Benjamin Moore. I love this color- it was a great jumping off point!
2. The gray/white stripe pillow and yellow ikat pillow are both from this etsy source here.
3. The next two pillows are from a source Marci loves and can be found here. She also plans to incorporate their bedding, when it becomes available.
4. The chosen drapery panels are from Pottery Barn. Marci has 9ft. ceilings in this space, and I would purchase these drapes in 108in. and hang the drapery rods up to the ceiling. That helps draw your eye up and takes advantage of the height in the room.
5. Since we're on the topic of window treatments, I also chose the woven shades for a layering effect to add depth and texture. These are blackout lined, for mornings when you want to sleep in and can be found here.
6. The starburst mirror will hang above the bed and is from Wisteria.
7. The upholstered headboard adds a soft element and is from Pottery Barn.
8. The table lamps can be placed on end tables next to the bed. Marci can either choose one design, or use one of each. They are both from West Elm. She already has end tables and an armoire that she plans to stain a gray color, which will work great in the space!
9. The leather cube ottoman from Ballard Designs can sit at the foot of the bed and Marci can use two to give the effect of a bench. It will help to visually add more depth to the headboard. The woven basket is from West Elm and will be great for blanket throws and books.
10. The bedding is from Dwell Studio and adds a sense of whimsical nature to the space. Marci has a bird statue on her dining table, so I thought this tied the two spaces together.
11. The armchair and side table are both from West Elm. I would add two of these armchairs to the space and place the side table in between.
12. The wood accessory is also from West Elm and adds a rustic touch to the space.
13. The gallery wall is from Pottery Barn and gives Marci a place to add family photos or this Love art piece from this etsy source here.
14. Last but not least, is an idea I have for the main wall where the bed will go- this is actually a stencil Marci can apply to only one wall behind the bed. It will act as the focal wall and mimic the look of expensive wallpaper. (Marci's beautiful craft closet is proof that she can stencil!) This stencil art can be found at this amazing etsy shop here. At first, I was going to suggest grass cloth for this wall, but when I found this, I thought it would be great! Marci can apply the stencil to her existing wall color and get a designer look without the expensive price tag! She can use a lighter shade of the wall color for a subtle touch, or a creamy white (like in the above design) for a more dramatic effect.  
There you have it! Sorry this post was so long- thanks for bearing with me! I truly enjoy interior design and thanks so much to Marci for this opportunity!
Would you like a design board for a room in your home? Please e-mail me at simpledwellings1@gmail.com! I would love to work with you!
Amber from Simple Dwellings

Amber has done an excellent job of compiling different elements for this space.  I love the textures she has added for the windows.  I also like the mix of patterns she has put together for the bedding, and of course the wood, metal (in the side table) and textiles for nature's elements.  Thanks Amber.

You can look forward to seeing photos of our master bedroom soon (in its current state with decorations from our previous house), and I will detail the plans I have for it as well.  Of course DIY style.

Friday, April 22, 2011

Project Updates

Just in case you were wondering about what is happening on the projects I have on the go for my office, here are a few updates.

This is the stage my new desktop is at now.  All those boards I had to replace then needed to be planed down so they were level with the rest of the desktop so I could continue sanding.


I haven't completely worked out the details but I am currently thinking a few boards from this stack of cut 2x4's in the garage will become my new piano bench. 


The two boards I picked up at the salvage center for $2 once stripped and restained just might make their appearance in my office in the form of shelves.

I know, I know.  A ton of work still to be done on all of these projects.  It is easter holidays around here which means a week off school for my oldest.  We have many fun plans of visiting the zoo, swimming, bomber museum, bike riding, easter egg hunt so these projects along with this blog will all be on the back burner for this next week.  You may of may not hear from me but I do have a guest designer working on a design for my master bedroom just for the fun of it.  I have a head full of ideas for this space as well but I always find it interesting to get another person's take.

So Happy Easter to All.

Thursday, April 21, 2011

Chevron Art DIY Style

The other day I got the kids all set up painting away and then wondered what I should do while they were busy messing.  When they are painting I always make sure that I am nearby in case they take the notion to paint walls and furniture like they see mommy do on a fairly regular basis. So I decided to join in on the fun.

Here are the results.  I am pretty pleased with how it turned out, and although when I started painting this fabric I had no intentions of it being actual art, or for it to hang here I am pretty pleased with it.


Want the DIY Details?  Click on Read More to follow the jump.

Tuesday, April 19, 2011

Updating the Piano Bench.

If you have been following my office update you will know that one of the projects on my list was updating the piano bench.
Here it is.  I believe my dad made this bench in his early wood working days over 30 years ago to match the piano. 


I have no idea why the little hole but I am sure there was a reason.


My mother did the needlepoint work on the top.


Obviously the 30+ years of use have been a little hard on it.


It even has a hinged top for handy storage.

This week I picked up 1.5 m of this faux alligator for a bargain.


Although I am sure that the bench can be repaired and recovered I am contemplating creating my own.  I don't really need the storage (since another project I am planning is a shelf, and I have a large storage closet), and I am not overly concerned about it being matchy matchy to the piano.

Here are a few benches I am contemplating.

Simple, clean.


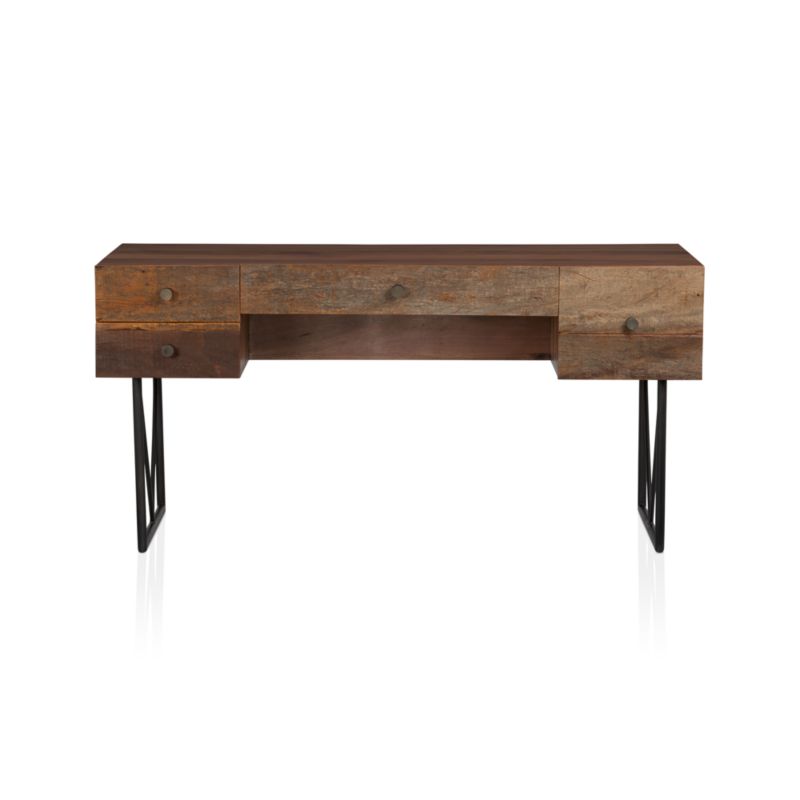
Or perhaps one of these leg options.  The x-leg which would mimic the Crate and Barrel desk I am using as inspiration found here, or the metal legs which would match the Ikea Micke desk  I am transforming also found here

I think I will ponder this as I chisel and sand my desktop.


Monday, April 18, 2011

2 Steps Forward, 1 Step Back

So I am making a little progress on the office desk I am working on that you can read about here.


Here is the stack of walnut slat cut offs from my Dad's shop that I am using to create a new top.

With the kids tucked into bed and the husband off to a hockey, I started gluing down all the slats.

This part was really easy and seemed to go very well so the next day I took it back out to my dad's shop to trim the edges down and sand.

I was just about finished with the sanding when these little problem areas showed up.  I had used too much glue in these 3 areas which caused them to heave leaving very thin 'veneer'.  Now I have to chisel out the slats in these 3 spots so I can glue down new ones in their place and start sanding again.

Very frustrating but I saw a glimpse of how great it will look before these areas showed up so I am determined to keep on.  I already have the slats replaced in one of the 3 areas. 

Thursday, April 14, 2011

Kids Bathroom Update

You may remember a couple of weeks ago I was on a mission to decorate the kids bathroom.  I completed the DIY rustic modern bench and then nothing.  Well, I seemed to have lost a little inspiration for this space and when that happens I like to walk away from it for a while rather than try to push the process.  I have found that rushing things often ends in less than satisfactory results. 


Here it is again with the clean slate I started with. 
This was my goal:
I'd like to see the decorations in this bathroom kept very simple (the white tooth paste splashes on fancy trinkets just won't work here), with a few natural elements brought in and maybe a splash of color.  What color?  I'm not sure yet.  Any suggestions?  2 boys and 1 girl share this space so I will be keeping it fairly unisex and not disney themed.
Here is what I came up with:

I updated this wall with my DIY rustic modern bench.  I then personalized each towel hook with a black and white snap shot I took of each child.


These were old leather picture frames (2 brown and 1 black) that I painted.  I love how the stitching detail shows through.


Then above the toilet I added some of my favorite quotes.  One I created myself and the aqua colored one I printed out from Leanne's Free Awesome Art Prints.


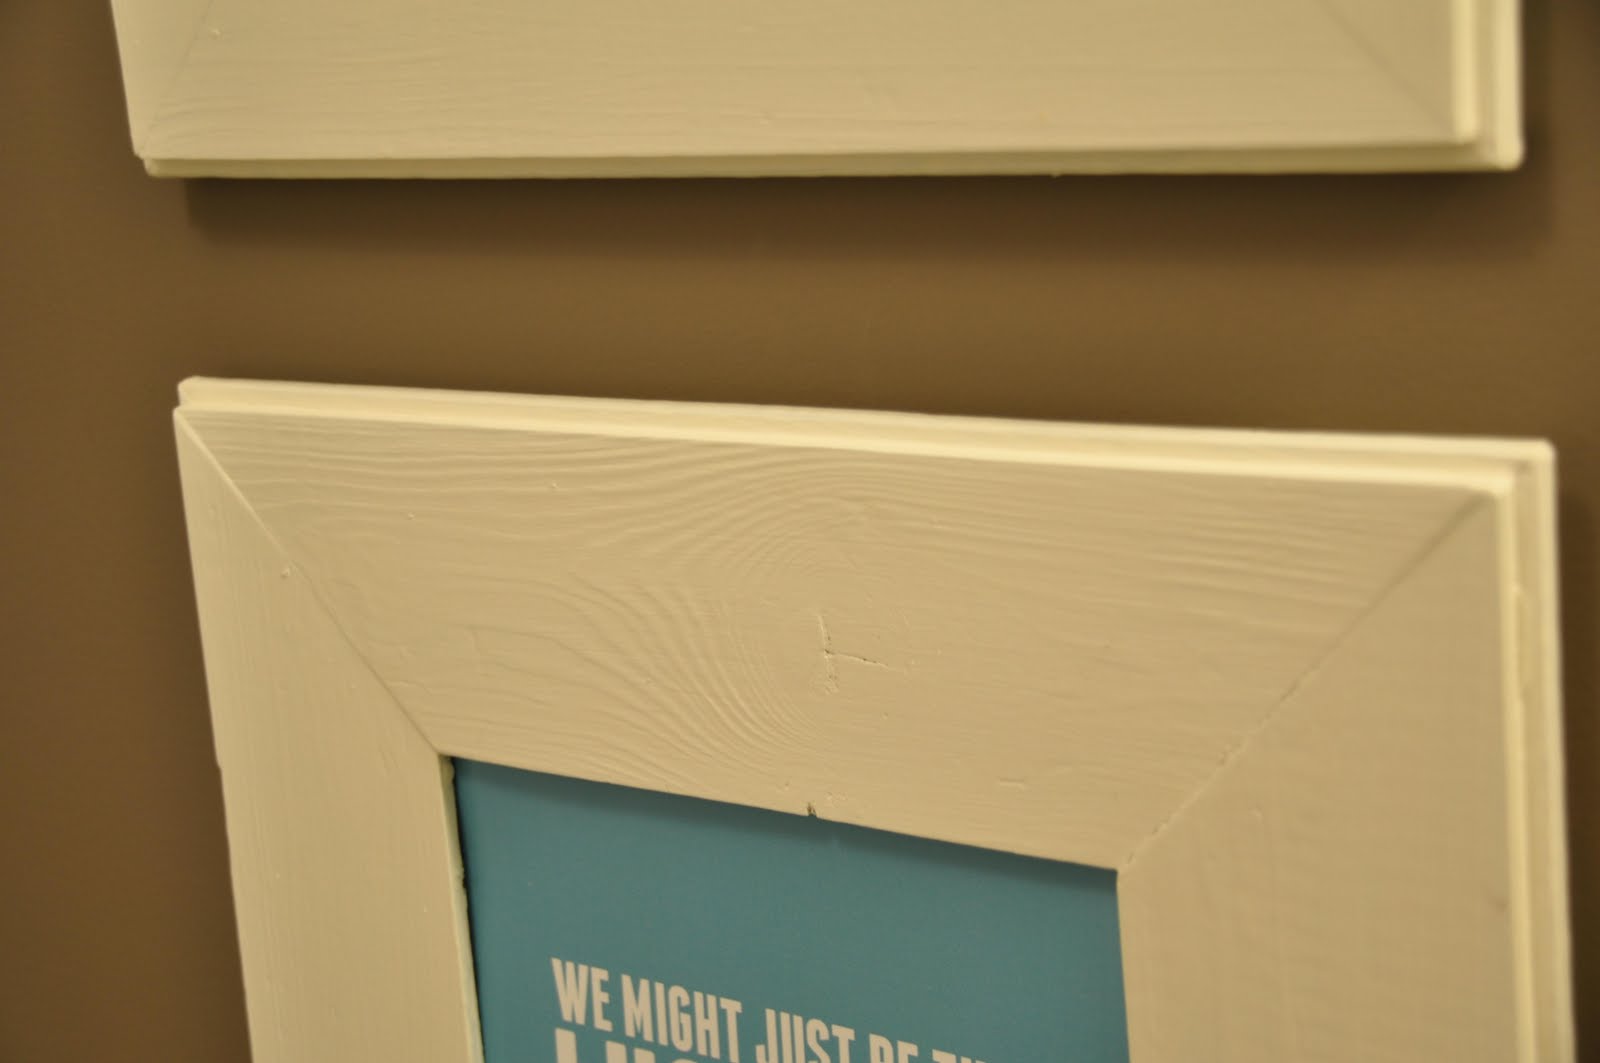
I made these frames from left over hardwood flooring planks which I then painted.  I love the little bit of rustic here with the grain of the wood showing through contrasting with the crisp clean prints.


I picked this little guy up from Home Sense and thought he was the perfect addition.  


So there you have it.  Simple. Kid friendly. Not disney themed but still childlike with a few rustic elements.


Update:  The paint is by Benjamin Moore and the color is Barnboard.  To see more photos of this paint color view our house tour as most of the house is painted in this color.

I'm linking up to:

Chic on a Shoestring Decorating    

Office projects

Today I am heading out to my dad's shop to cut a piece of mdf to start on the first of my projects for our office/music room.  This is the place where we practice our music, and where I have the kids computer set up (that old jalopy you see in the photo) so that I can keep tabs on what they are into.  The office is located on the main floor just off the front entry but close to the living room and kitchen.  I am also found here often with my laptop as I have all my paperwork, printer and files tucked away in the closet.


Some of my plans for this space include adding drapes (when I find the perfect fabric at the right price), recovering the piano bench, hanging the mirror, update the pillow, moving out the change table and creating some rustic modern shelving to hold our music, and instruments.


The cherry change table (pictured in the photo above) was lovingly made by my father over 7 years ago to match our crib as we prepared for the birth of our first child.  I will not be parting with this piece as it means a lot to me but it will find another place in our home as it is a bit too bulky for the look I am hoping to achieve here.

Here is the $99 desk we purchased at Ikea strictly as a temporary desk until we found the one we love.  Well, I haven't found exactly what I have in mind yet, and anything close comes with a large price tag.


I am looking for a cross between this Crate and Barrel desk ($1599)

And this Crate and Barrel desk ($599).

I like the sleek clean lines of the white but the natural look of the wood.  My goal is to achieve the mixture with $0.  Unless I decide to add 2 pieces of hardware for the drawer fronts. 

Items I will be using that I already have:
The Ikea MICKE desk ($99)
4x8 sheet of mdf (I'm not sure the $ - left over from shelving)
walnut off cuts (free from my dad's shop)
wood glue
palm sander
trim paint (left over from painters)

I will update as I make progress on this project.  And all the DIY details will come once it is complete.