Wednesday, September 7, 2011

Display wall for Photos, Cards, and Art

One thing my house has been lacking is an attractive way to display cards, children's artwork, and photos of friends and family.   All those school pictures, wedding invitations, and colorful drawings that usually clutter up the fridge clustered together under one magnet.  Don't get me wrong, I love each item that has been gifted to me, I am just not a fan of the overall appearance in my otherwise clutter free kitchen.  We already have the gallery wall in the children's play room which the artwork will graduate to eventually, but I needed a place for the everyday, and cards from birthdays, etc. A special note for me from my daughter on her very first day of kindergarten spurred me to finally find a solution to this problem.


This is the hallway that leads from the garage into the heart of our home.  As this is the entrance we use every day it seemed like a good location for these little reminders of those we love and special events.


First, using a level I drew 3 sections on the wall for the placement of my wood scraps.


I selected 8 pieces of walnut from my pile of off-cuts from my dad's woodworking shop.  These 8 pieces were all 2 1/2" wide, by 13" long and 3/8" thick.  Then I sanded with 220 grit sandpaper and sprayed with crystal clear varathane that I had on hand.


I decided to add a monogram to the wall by adding a 'M' for visual interest.


It was sprayed with Rustoleum's Metallic Finish in silver for the combination of wood and shine that I am such a fan of.


I used a hot glue gun to adhere my wood strips to the wall once they were dried.  The hot glue was used because it has a denseness that leaves a small cavity between that wood piece and wall to allow the pictures and cards to slide in between with ease.  A straight line along the top of each piece of wood left me with a nice slim ledge for the photos to rest on.


Here it is before it has been loaded up.


I am actually quite fond of the look without the pictures added so if there is ever a time where there is nothing to display, the little shelves will act as art all on their own.


And even loaded up, we have a nice tidy display that is convenient, and easy to rearrange as new pieces are added or outdated ones taken away.


Here is the artwork that prompted this display wall.  A note brought home on the first day of kindergarten inspired by the book "The Kissing Hand".  A must read for anyone with children in school!


The slim profile of this display leaves maximum space in the hallway and no bump hazard for shoulders, or heads of little people running though to welcome daddy home at the end of the day.


How do you display photos, birthday cards, and children's artwork?


Friday, September 2, 2011

Design Dilemma Solved By Groupon

I'm sure many of you have heard of Groupon.  It is a subscription to daily deal coupons to businesses in your area.  Some of the purchases we have enjoyed great savings on have included hotel stays, golfing, photobooks, and canvases but there are so many other deals to be had as well. 

When we first moved into our home back in October the boys bunk beds were set up in the room they happened to be delivered to by our moving helpers and that is where they stayed.


In the early spring we decided we needed to add curtains to this room to block out light for our early bird two year old and that necessitated a rearrangement of furniture.


So this was the arrangement that we came up with that allowed proper room for the curtains to hang freely and also accommodated the older boys desire to have the beds side by side.  I received many great suggestions from you wonderful readers on what to put above the beds.  Many suggested something personal showing a little about each child, something shiny, etc.  I was seriously considering purchasing two shiny airplane propellers for above each bed but the most affordable ones I could find were $250 each with the addition of shipping costs.  I thought about some sort of bulletin board but was afraid of the clutter that would prevail on the 'B' side as he is a collector of all precious treasures.  The drawer you see in the book case is his special drawer filled with his prize possessions.  It is often filled to overflowing with various miscellaneous treasures.  I did however add a large bulletin board behind the door for displaying all their wonderful school work and art creations. 

I still however had not solved this dilemma so it was placed on the back burner as we began our exterior landscaping projects.  Still wondering what this has to do with Groupon?  While we were right in the midst of planting our 34 trees I received an email saying my groupon purchase was going to expire in 4 days.  I had purchased the groupon for 2, 16x20 canvases from 44 Wide the previous summer with the intention of taking some more photos of our three kids and gifting them.  Well with house construction the previous summer I just hadn't gotten around to taking the kids out for a photo shoot.  And those 4 days were slated chock full with tree planting leaving no time for even an impromptu photo shoot.  Rather than waste my groupons, one evening I quickly picked out a picture of each boy, converted them to black and white, and uploaded them to the 44 Wide web-site.  5 days later the canvases arrived and they were hung above each bed.  I was resisting the idea of photos above the bed originally because I hadn't wanted to duplicate the look I had done in the kids bathroom to label the towels.


I love the end result however so thank-you groupon for prompting this decision.  The canvases were a steal at $36 each versus the $120 original price tag.   The only addition will perhaps be a shiny silver frame around each canvas.

What do you think? Frame or no frame?

* This post is not sponsored by groupon.  It is simply my own experience using their daily deals.


Linking:

Thursday, September 1, 2011

Temporary Decor Changes

All over North America kids have been returning to school for the 2011/2012 school year.  In our household we have a very seasoned student in grade 2 guiding a shy, nervous kindergartner through the joys of education.  Over the summer we have savoured the relaxed, sleepy mornings, the spontaneous outings, and many days spent at the lake enjoying surf and sun.  Normally at this time of year I am reluctant to see the return of routine and early nights. 


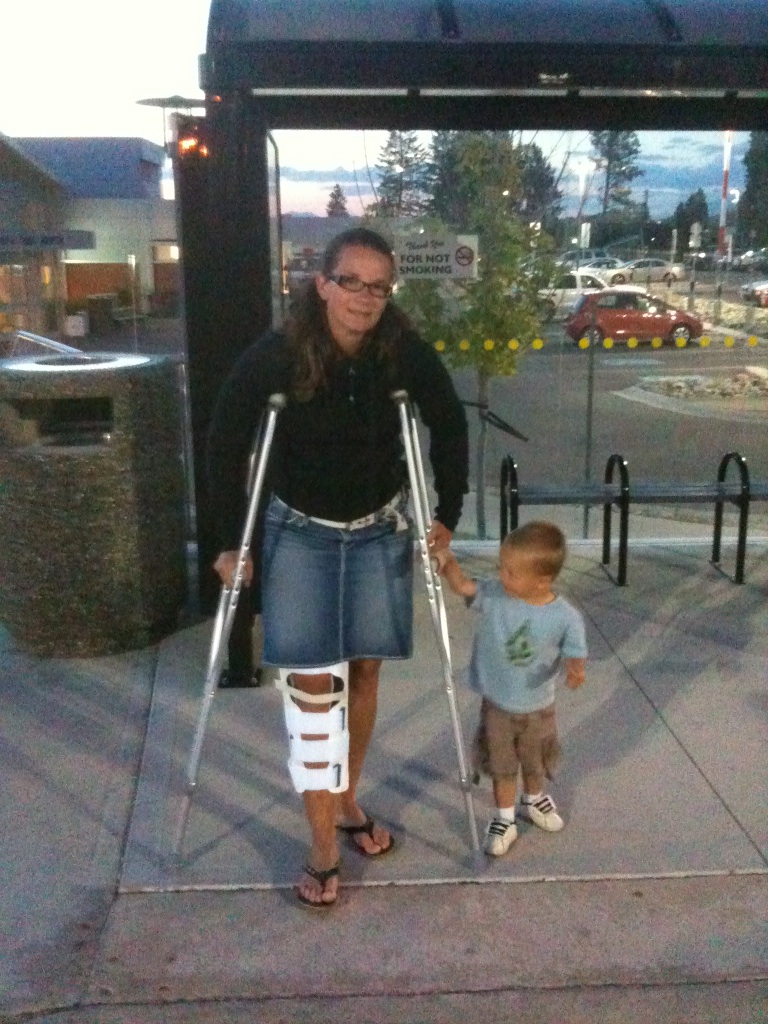
Three weeks ago, on route to the family cabin we stopped in to visit some friends camping at a nearby lake.  A refreshing wakeboard on a hot day left me with a tore MCL and ACL on my right knee.  I have been practicing watersports my whole life so this was not a new activity for me just a twisted fall.  I have spent the last three weeks with a knee brace and limited movement.  Although I am able to get around relatively pain free I don't seem to have enough speed to keep up with 3 active kids, household duties, and acreage yard maintenance.  The focus has been on the kids but the slower pace has them bored and therefore pestering each other.  The return of another school year will allow me to catch up on household maintenance during the hours they are away and some more one on one time with my frustrated 2 year old in the slow learning process of being independent.


For the duration of the slow recovery of my knee injury we have implemented a few necessary but temporary decor changes.  Temporary because they definitely don't fit with the rustic modern theme I would like to achieve in my home.


The recliner from the basement was brought upstairs to accommodate icing and elevation requirements.


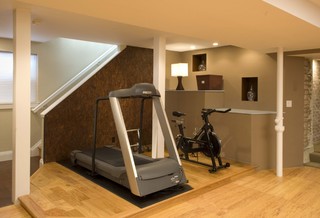
We purchased an exercise bike for my physio therapy rehab.  My husband was very happy to add this to the other dust collectors we currently own residing in the basement.  Perhaps someday we will develop a portion of the basement into a gym.  In the meantime this piece sits in our bedroom conveniently for the five minute stints I am to be doing on it numerous times a day. 

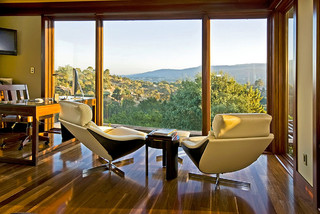
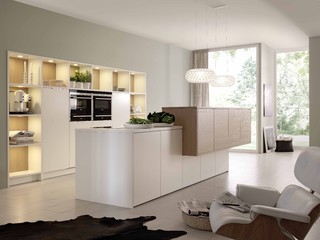
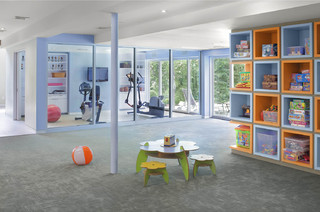
And a few inspirational photos from those who managed to work recliners and exercise equipment into the homes decor permanently.

Real Estate photography in he Bay Area SF contemporary home office
                                                                                     Mark Pinkerton

CLASSIC-FS/ TOPOS modern kitchen
                                                                                           Leicht Küchen AG


Ardsley Residence contemporary kids
                                                                                  Eisner Design LLC

by Jodi Feinhor-Dennis contemporary family room
                                                                        contemporary family room design

Sunday, July 24, 2011

Working on a Green Thumb

Do you remember way back in May when I shared with you pictures of some of our outdoor projects and this little patch of soil was included?


I have to admit I was very skeptical that anything would come out of this patch of pasture we picked for my garden. 


Here it is today.  Amidst the multitude of weeds growing around it there is a little patch of promise. 


Unfortunately the only plant that hasn't been flourishing here are the carrots.  We received crazy amounts of rain immediately after I planted and it seems most of the carrot seeds washed away with only precious few remaining.


As I was skeptical of any growth here (besides the weed kind) I kept it very simple.  You can see here, two varieties of lettuce, onion, peas (just enough for the kids to snack on when I am working in the garden), carrots, potatoes, and zucchini. 


Lettuce.


Onions.


Potatoes.


Zucchini.

This is the first year for me to have my very own garden.  I have helped my mother with her gigantic garden for years but have never taken a real interest in it.

Here are a few things I have learned about gardening:
  • My garden is 40ft in diameter and it is big enough!!
  • I planned on staggering my lettuce planting but ran out of time but I lucked out that the green lettuce I planted started producing early and my romaine lettuce is going to be ready right about the time the green lettuce is finished.  I just might have to repeat that.
  • I left enough room between each row to rotor til and this was a huge time saver in weeding.
  • I didn't know when you hill potatoes and I did mine too late but I will have more than enough potatoes anyway.
  • I have WAY too many onions for my family.
  • Planting a garden can be an art and I think next time I will do a little more planning rather than just winging it. 
  • I am going to keep this as strictly a vegetable garden.  I will have flower beds on the outside of the little fence I plan to outline the garden in someday.
  • I never dreamed I would find so much pleasure in a patch of dirt and $20 worth of seeds.
Any other advise for a newbie gardener like myself?

Monday, July 18, 2011

Culvert Planters

I have been wanting to add some planters to my front entry for a while.  Way back in April my husband and I found some fabulous ones in a store in Canmore, AB on our way back from my 30th birthday weekend away.  At $700 a peice they just weren't in our budget so we walked away.

One day I was mentioning to a friend that I was thinking of using culverts to make some planters and low and behold she happened to have a whole culvert sitting at her acreage that the previous owners had left.  She even cut it and grinded the edges for me!!


I purchased at Canadian Tire two plastic (orange) planters that fit perfectly inside the culverts for $20 each.  A huge savings from the $700 price tag of the original coveted planters. I quickly filled them with plants (New Zealand Ornamental Grass and potatoe vines).


You can still see the orange planters but soon the lime green potatoe vine will be overflowing the edges and cascading down the sides.  (I know I'm late in getting these planted this year.)  Next year I will spend a little time painting the orange rim of the planter to match the culvert before I get excited about putting the plants in.

I am loving the combination of rock, timbers and now metal at my entrance.

Tuesday, July 5, 2011

Adding a Little Oxygen to the Air!!!

The 31 trees we had ordered back in April arrived last week.


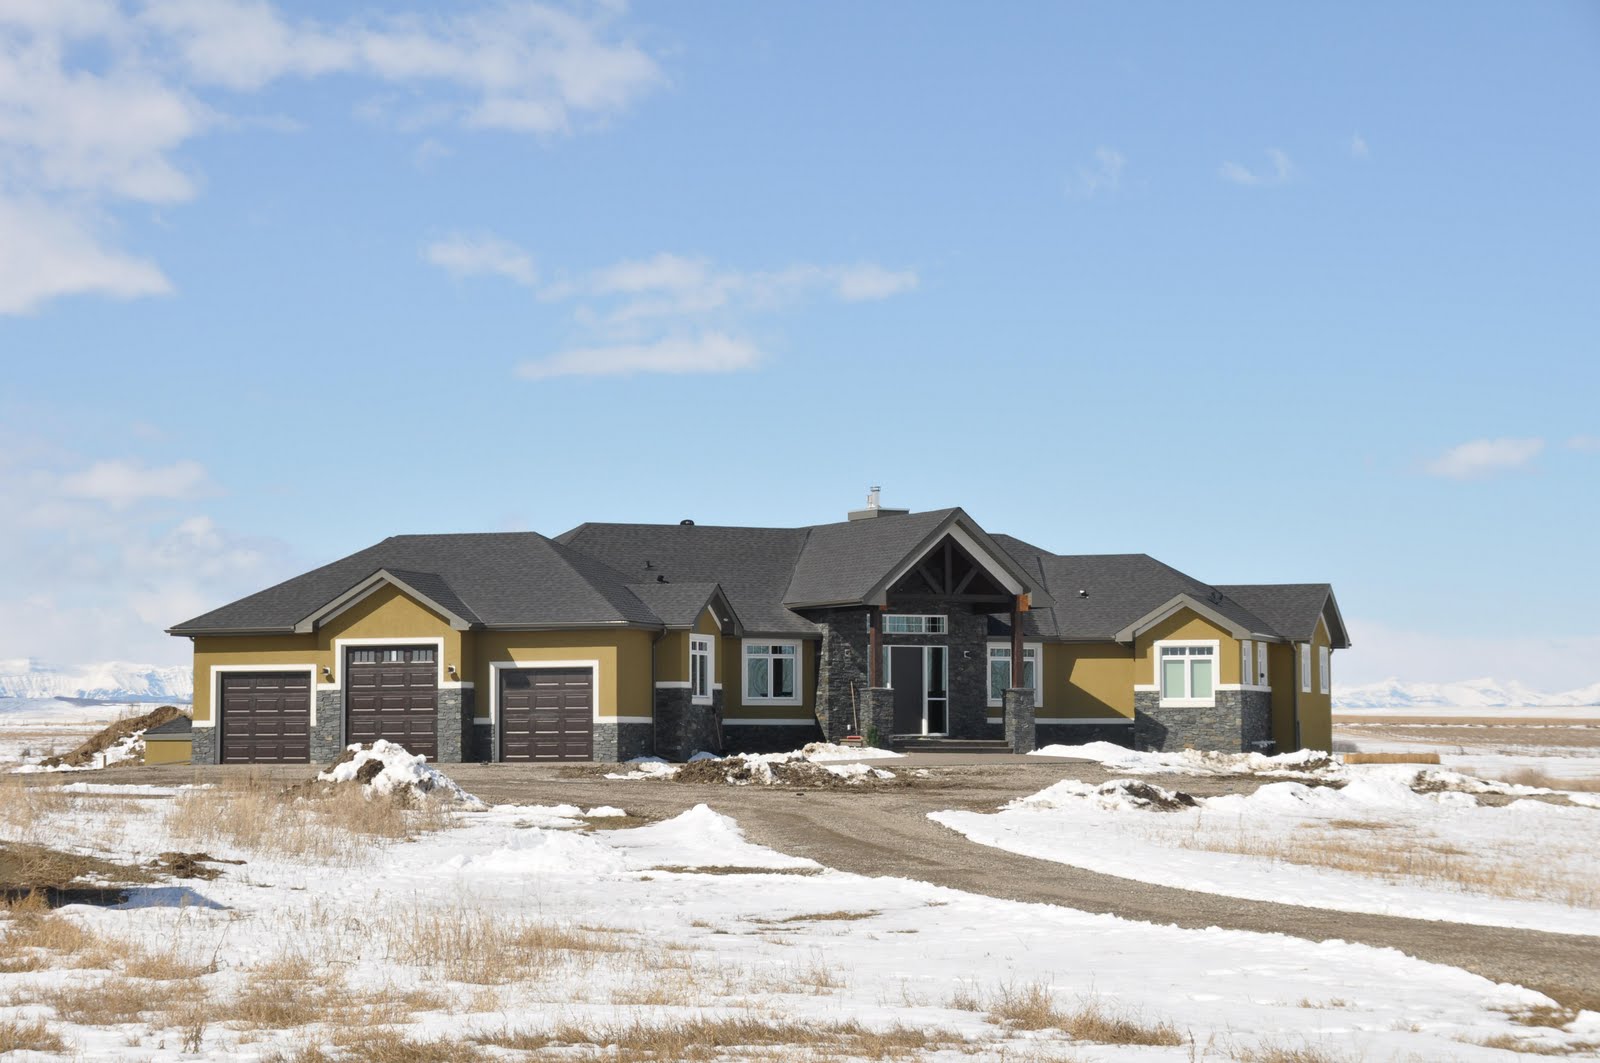
I just want to take you back to April 2010 when we first began construction at our property.  Pretty much the only thing that hasn't changed is the gorgeous mountain view that spans just about 180' around us.


Then our house was constructed and it looked like this all winter.


We have spent many evenings hauling top soil to create these raised tree beds.  It is hard to tell in the photos but these beds are actually 4 ft tall in the center.

This is to the left of the house.

And the front beds.

My hands suffered a little from all the raking involved in forming the soft mounds.


And in goes the first of 31 trees.


A good portion of the trees went into these beds on the left side of the house.


With a few added to the front.  These beds in the front will mostly be filled with shrubs and perennials.


And just as we got the trees planted, two dump truck loads of this stuff arrived.  Bark Mulch.


And this is how it looks now.  Slowly we are blending house and landscaping.


Wondering about the status of our rock retaining wall?  It is complete.  Well, the placing of the rocks is complete.  Now we have some grading of the land to finish so we can add top soil and more trees, shrubs, and grass.
That's Duke, our white boxer, guarding the steps.


How much more do we hope to accomplish this summer?  To be totally honest, the budget has run out for this season.  We did find a great deal on some trees that we are hoping to take advantage of, but I think the plan is to enjoy the rest of the summer with the kids at the lake.  There definitely is a lot of time involved in watering the trees we have planted now, and we hope to finish up all the little odds and ends of construction on the exterior of the house. And, back to saving for the next season.