Showing posts with label Kids Bathroom. Show all posts

Thursday, April 14, 2011

Kids Bathroom Update

You may remember a couple of weeks ago I was on a mission to decorate the kids bathroom.  I completed the DIY rustic modern bench and then nothing.  Well, I seemed to have lost a little inspiration for this space and when that happens I like to walk away from it for a while rather than try to push the process.  I have found that rushing things often ends in less than satisfactory results. 


Here it is again with the clean slate I started with. 
This was my goal:
I'd like to see the decorations in this bathroom kept very simple (the white tooth paste splashes on fancy trinkets just won't work here), with a few natural elements brought in and maybe a splash of color.  What color?  I'm not sure yet.  Any suggestions?  2 boys and 1 girl share this space so I will be keeping it fairly unisex and not disney themed.
Here is what I came up with:

I updated this wall with my DIY rustic modern bench.  I then personalized each towel hook with a black and white snap shot I took of each child.


These were old leather picture frames (2 brown and 1 black) that I painted.  I love how the stitching detail shows through.


Then above the toilet I added some of my favorite quotes.  One I created myself and the aqua colored one I printed out from Leanne's Free Awesome Art Prints.
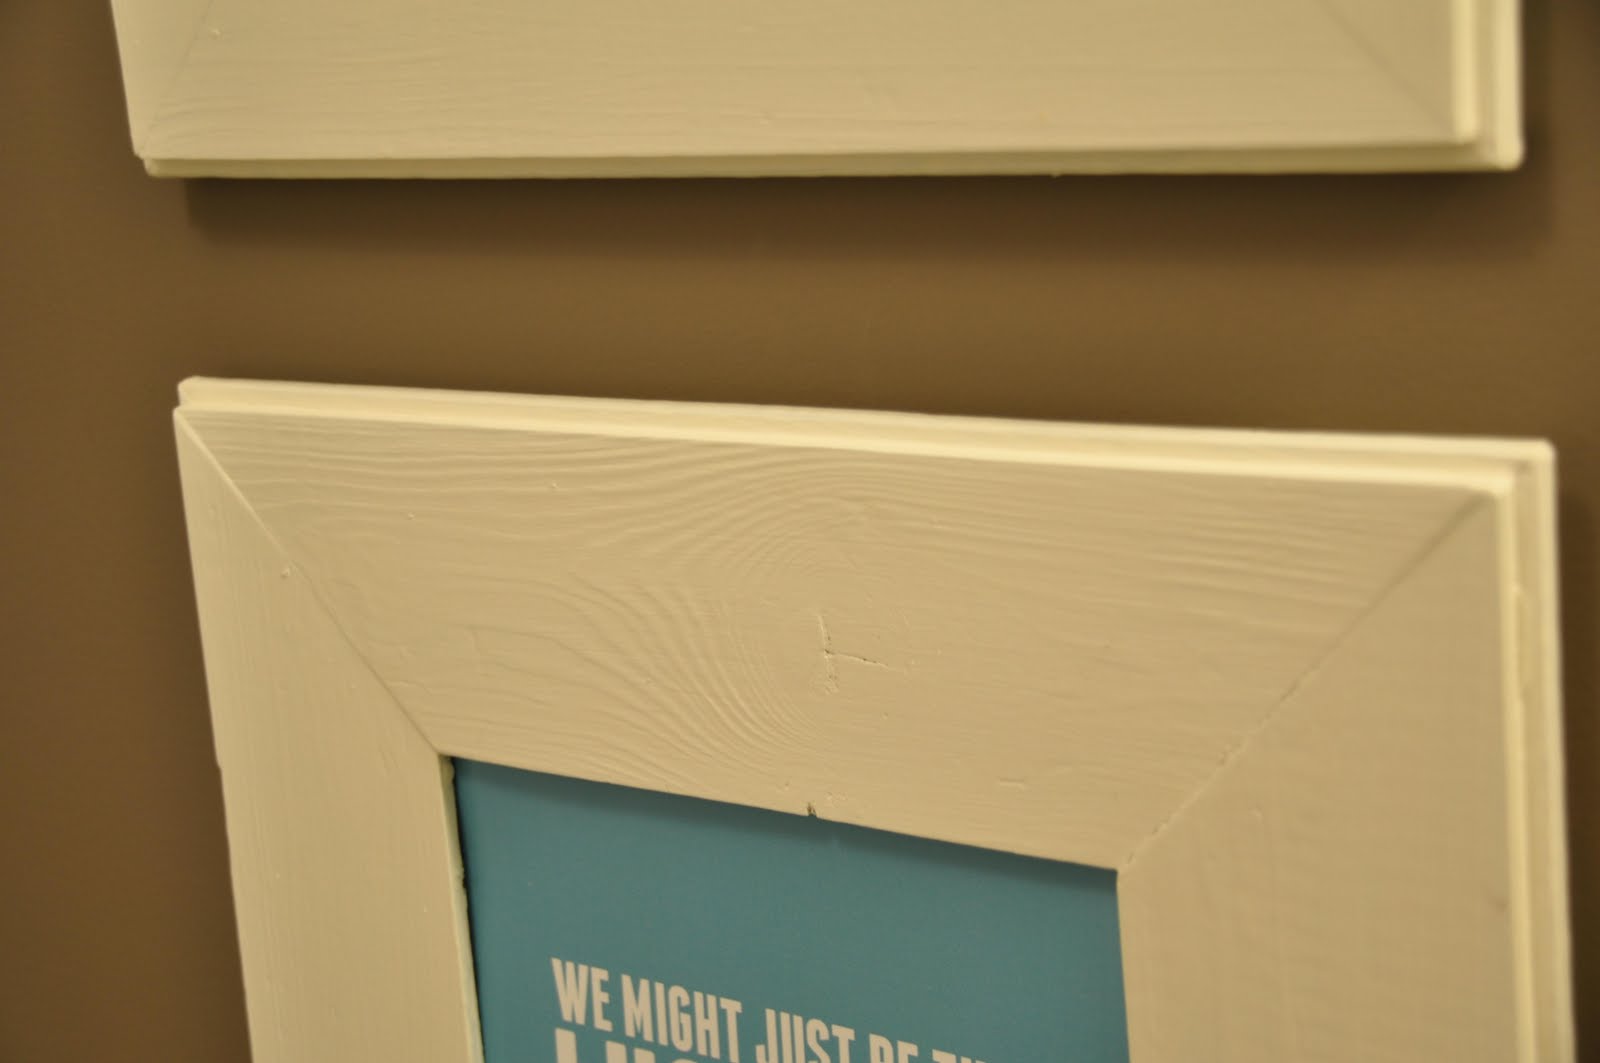

I made these frames from left over hardwood flooring planks which I then painted.  I love the little bit of rustic here with the grain of the wood showing through contrasting with the crisp clean prints.


I picked this little guy up from Home Sense and thought he was the perfect addition.  


So there you have it.  Simple. Kid friendly. Not disney themed but still childlike with a few rustic elements.


Update:  The paint is by Benjamin Moore and the color is Barnboard.  To see more photos of this paint color view our house tour as most of the house is painted in this color.

I'm linking up to:

Chic on a Shoestring Decorating    

Friday, April 1, 2011

DIY Rustic Modern Bench

I am so thrilled with how this project turned out and I just couldn't wait to share the details with you.
Yesterday I started on the decorating of my kids bathroom.  The first task was to add a natural element to this space.

 I started out with this timber left over from the exterior of our house.

 First I brought it into the bathroom with the legs I purchased at Home Depot to make sure it would work as I had envisioned it before continuing.

 Then out to the back deck with my hunk of wood and Rigid palm sander.

 This is what it looked like after about 15 min of hard sanding and 6 squares of 60 grit sandpaper.  The all in one stain and finish used to protect this timber from the weather was doing its job very well and ran deeper than I thought.  I had to re-evaluate at this point.  My arm was already sore and I was out of this grade of sandpaper.

 Some might call it cheating.  I like to think of it as being resourceful. My dad has a woodworking business and a shop full of tools that would make this process easier.  Note:  He designs and creates gorgeous high-end furniture with a finish that is absolutely incredible but he humours me by letting me use his tools and a little of his help for my rustic DIY projects.  We ran my timber through the planer a few times and squared up the ends using the band saw.  Now back at home in my little makeshift workshop it is ready to finish.

 I used some stain I had on hand Minwax Wood Finish Jacobean. 

 Here it is stained and ready for the clear coat.

 I found this product that the finishers left behind from finishing our railing.  I am happy with the finish on the railing so I thought I would give it a try.  It went on very well with a brush and I did three coats with no bubbles or brush marks showing through.  It is very fast drying so was ready for final stages by morning.

I picked which side I wanted the legs to go on and set them up.

 I used a good old fashioned screw driver for installing.

Here it is in its intended home.  I purposely placed the large cracks to be showing because I love the natural beauty in them.  This bench is the perfect height for the kids to have a seat, and I also discovered to save my back when on hair washing duty.

This is a photo of their bathroom with their new 'natural' element.  Now I'm off to work on some art for this room.


Decorating the Kids Bathroom

This week I decided I need to tackle decorating our kids bathroom.  I am basically starting with a blank slate.  White rug, white shower curtain, white towels. 

I'd like to see the decorations in this bathroom kept very simple (the white tooth paste splashes on fancy trinkets just won't work here), with a few natural elements brought in and maybe a splash of color.  What color?  I'm not sure yet.  Any suggestions?  2 boys and 1 girl share this space so I will be keeping it fairly unisex and not disney themed.

 For some reason the colors look off in this photo but it is the same white based granite as my kitchen and the backsplash tile actually pulls out the brown tones in the granite very well.  Not exactly what you are seeing in the photo above.

 Here is that timber again that was on my to do list last week.  Some sunny weather has finally showed up so I am heading outdoors with this chunk.

 First I brought it into the kids bathroom and propped it on top of the legs I purchased at Home Depot last week to make sure it was going to fit the space the way I envision it to.  I'd hate to waste all that hard work.

 Here we are out on the back deck with my hunk of wood and trusty Rigid Palm Sander with 60 grit sandpaper.

This is what it looks like after about 15 mins of sanding and 6 squares of sandpaper later.  The oil stain that is on our exterior timbers is definitely doing its job protecting the wood.  It runs deeper than I thought.  I will either be sanding for days and going broke buying sandpaper or I will have to come up with another solution.